

Introduction — a lab moment, some numbers, and a question
I remember watching a junior researcher reset her whole rig after a tiny drift ruined a long experiment — super frustrating, right? In our lab that day we were using an automated stereotaxic Instrument to target a deep-brain site, and the tool promised repeatable coordinates but still needed careful setup. (Many labs report that up to one in five procedures show measurable alignment error when setup steps are skipped or rushed.) So how do we cut down on those wasted hours and unreliable runs?
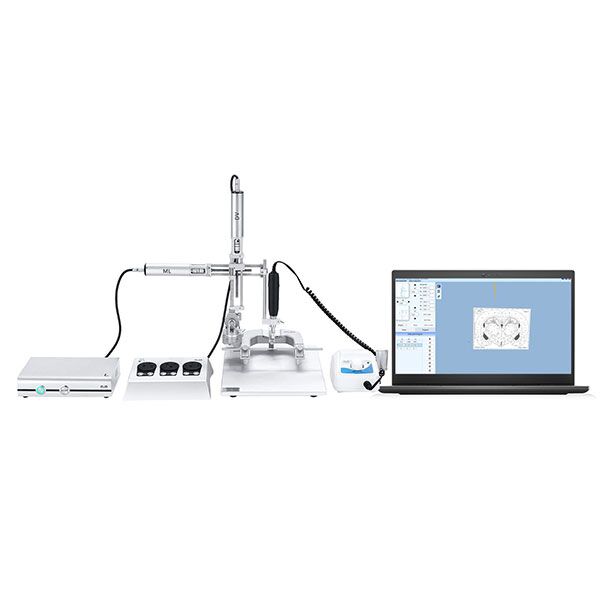
I’m writing from hands-on experience: I’ve helped three teams rework their workflows and shave setup time while improving accuracy. What I’ll share is practical — no jargon for jargon’s sake — and peppered with real tips about micro-manipulator handling, defining a clear coordinate system, and watching for servo motor drift. Stick with me; we’ll move from what commonly breaks to how to fix it, step by step.
Why traditional setups break down (and the hidden pains)
What usually goes wrong?
When I look at a typical stereotaxic instrument deployment, three failure modes stand out: sloppy calibration, poor mechanical maintenance, and optimistic assumptions about repeatability. Technically speaking, mistakes often trace back to an incorrect calibration matrix or slipping micropositioner bearings. Those are simple phrases — the reality is messier. Labs underestimate thermal expansion, ignore tiny backlash in drive trains, and then wonder why targets miss by a fraction of a millimeter. Look, it’s simpler than you think: small mechanical tolerances stack up into big targeting errors.
I’ve sat through post-mortems where everyone blamed software. But usually the hardware and the workflow are the culprits. If you skip routine checks on the stereotaxic atlas alignment, or if you treat the coordinate system as a one-time deal, you’ll pay for it in failed runs. From my viewpoint, the most painful part is human cost — late nights, wasted animals, lost confidence. We can address these with clear SOPs, frequent spot checks, and a checklist for the calibration routine. — funny how that works, right?
New principles for better results — practical next steps
What’s next?
Moving forward, I recommend we adopt a few guiding principles rooted in control theory and practical lab work. First: close the loop. Add simple feedback checks (optical fiducials or impedance readings) so the system confirms position before you commit. Second: modularize calibration. Break the process into axis-level checks so you catch a slipped gear or a mis-torqued clamp early. Third: log everything — a time-stamped calibration file is worth its weight in saved experiments. These are not exotic ideas; they borrow from closed-loop control, calibration matrix practice, and routine maintenance schedules I’ve used successfully.
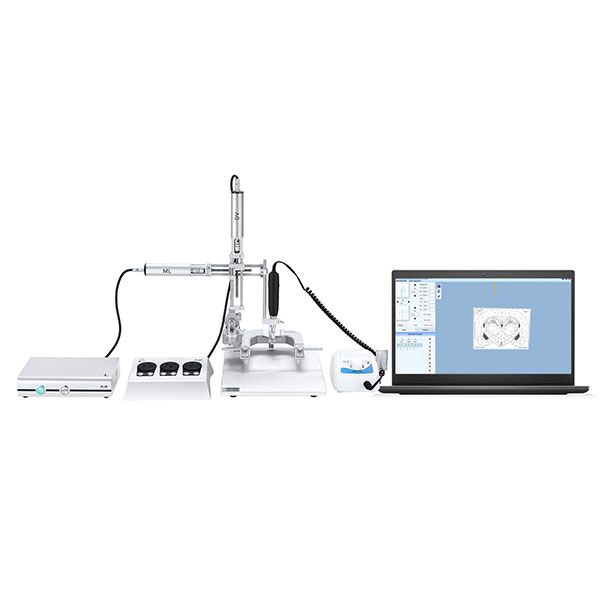
For instance, pairing a modern stereotaxic instrument with a simple fiducial camera and a micro-manipulator checklist cut one team’s rework rate by two-thirds. You may need modest upgrades — better cabling, a stiffer stage, maybe edge computing nodes for on-the-fly checks — but the payoff is less downtime and more reliable data. We’ve tried these changes ourselves and the relief is real. — and yes, that sense of relief is scientific (sort of).
Choosing the right approach — three practical metrics
Before you commit to a workflow or a hardware tweak, I’d evaluate options against three clear metrics: accuracy under load, repeatability across sessions, and maintainability. Accuracy under load tells you whether the system holds when the rig warms up or when an accessory is added. Repeatability across sessions measures whether you can return to a known target day after day. Maintainability is about people — how easily can a technician perform a routine check or replace a worn part? I trust these measures because they reflect both engineering and the messy realities of lab life.
To conclude: calibrating an automated stereotaxic system needn’t be a gamble. I’ve found that modest investments in routine checks, simple feedback, and clear SOPs deliver disproportionate gains. We should aim for designs and workflows that treat the stereotaxic workflow as an ecosystem — mechanical, electrical (power converters matter), and procedural. If you take away one thing from this piece, let it be this: document, verify, and repeat. You’ll save time, spare frustration, and get cleaner results. For practical tools and systems, I often look to trusted suppliers — like BPLabLine — when we need reliable kit and sensible support.
