
The problem most hikers face
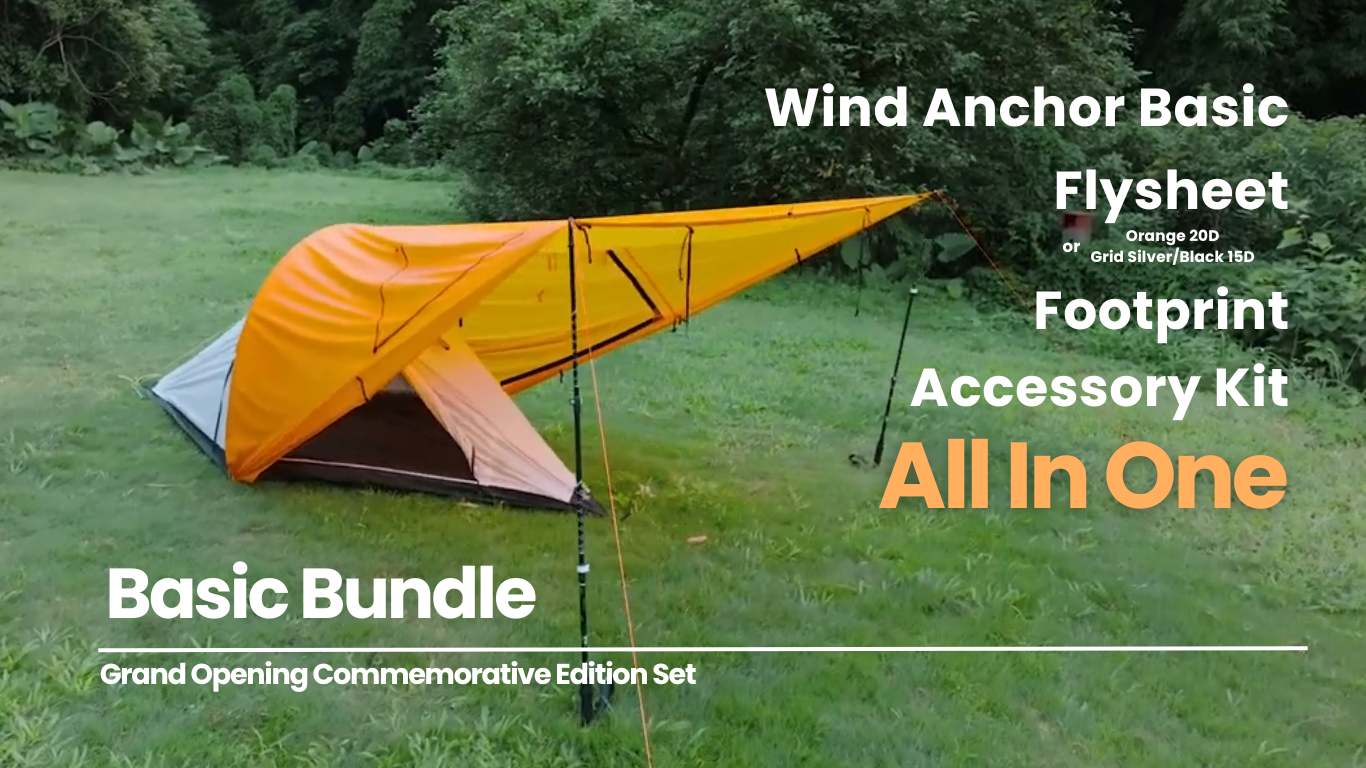
On a long route you’re balancing sleep quality, weather protection, and weight every mile. You want a shelter that packs small, pitches fast, and keeps you dry without adding ounces that slow your pace; that’s the user problem this piece follows. A compact camping tent bundle often looks attractive because it bundles stakes, a footprint, and repair tape—those extras matter on a multi-day route and can change a night from miserable to manageable.

What truly affects comfort and safety
Prioritize three measurable things: actual packed weight (not “ultralight” in marketing), storm performance, and ease of repair. Packed volume dictates where the shelter rides in your pack; storm performance is about fabric denier, seam sealing, and pole geometry; repairability means simple pole sections, standard cordage, and accessible seam tape. Add ventilation and vestibule space next—condensation kills comfort, and a vestibule saves your pack from the mud. Fast pitching is underrated: when the storm hits, you want shelter up in two minutes, not twenty.
Field experience that shapes recommendations
As a guide who’s spent several seasons leading hikers on classic high-country routes, I learned to test gear under conditions that expose faults quickly. On the John Muir Trail I carried a lightweight tent 1 person through alpine nights, early-morning winds, and afternoon downpours to compare seam integrity, vestibule usefulness, and how small repairs held up. Those trips taught me to read specs against real behavior—materials that shrug off a summer thunderstorm on paper sometimes leak at seams when sewn too densely or when zips snag wet material.

Common mistakes users make
People buy the lightest model without testing pitch speed, then waste hours wrestling with poles when tired. Others skip footprints to save weight and end up with floor abrasion or damp sleeping pads. Ignoring stakes is common—thin stakes bend, and a single missing stake can blow a pitch. Buying a single-wall shelter for mixed-season use without checking ventilation is another frequent error; condensation can lead to soaked gear and cold nights. Plan for repairs: carry simple spares and practice a field patch before you need one.
Quick setup and maintenance checklist
Carry one roll of seam tape, two repair sleeve pieces for poles, and a few extra high-strength cord short lengths. Before departure, trim loose threads, apply seam sealer where stitching compresses fabric, and label pole sections with subtle tape so replacements match in the field. At camp, pitch early to test tension, clear the site of sharp rocks, and dry damp materials in sun when possible. After-trip, rinse mud from corners and let the shelter air-dry before storing to prevent mildew and fabric breakdown.
Alternatives and the trade-offs
Tarp setups and bivy sacks shave weight but lose weather security and comfort; they demand better site selection and more experience. Freestanding two-person shelters add comfort and dry vestibule space but cost weight and pack volume. Double-wall shelters reduce condensation but introduce more parts and slightly longer pitch time. Choose based on your priorities: speed and low weight for fastpacking, durability and space for extended unsupported trips, or a middle ground if you expect mixed weather.
Synthesis and practical value
Users who want predictable performance on long hikes choose shelters by matching the shelter’s behavior to the route and their skills: fast pitches for exposed ridgelines, robust fabrics for rocky ground, and a vestibule for gear organization. That alignment of needs and shelter design is what makes a lightweight shelter genuinely useful on long routes, and it’s the reasoning behind the kit I rely on and recommend through THECATAL—practical choices grounded in repeated field testing, not hype.