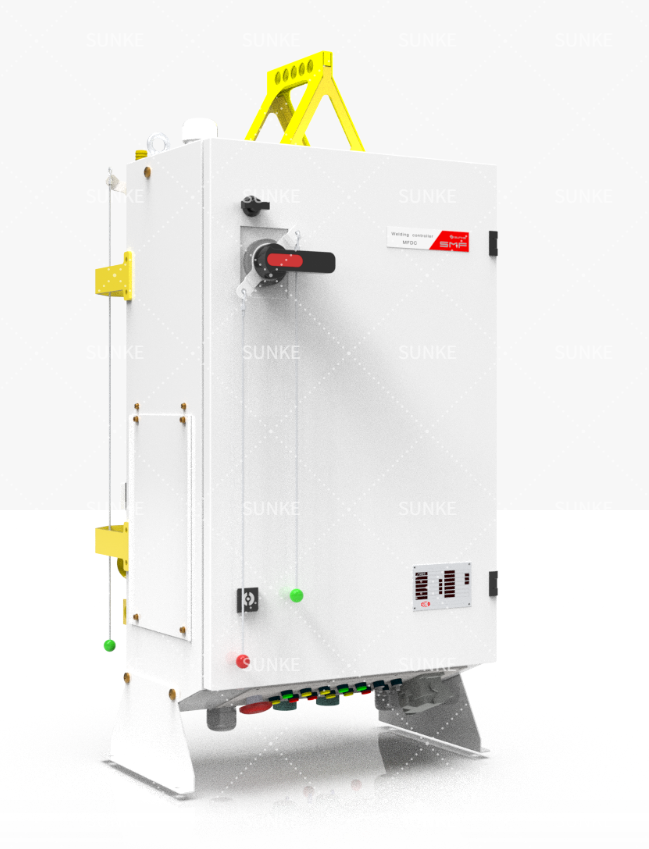

Where the problem starts
Weld quality suddenly drifts, cycles take longer, and operators blame the hardware. That sequence tells a clear story: control mismatch and process variation are the usual culprits. I’ll show you how to diagnose the issue and choose better controls without overpaying. If you’re troubleshooting, start by checking the resistance welding controller settings, then confirm electrode condition and fixture repeatability. I’ve seen the same fault patterns discussed on the show floor at FABTECH, and those conversations point to consistent fixes you can apply on the shop floor.
Diagnose root causes—focused checks that work
Begin with a short, repeatable checklist so you know whether the problem is electronics, mechanics, or process. Run these checks in order and note results:- Verify setpoints: amplitude, squeeze time, and weld time match your procedure.- Inspect electrodes and tooling for wear or misalignment.- Confirm electrical connections and transformer taps for consistent current flow.- Capture a single weld waveform where possible and compare it to a known-good reference.If you need traceable control data, look for a welding control system that records current and timing; that data makes fast diagnosis possible.
Practical fixes, benefits, and the trade-offs
Addressing control problems gives clear gains, but choices come with costs. Here are typical outcomes and what you give up or gain:- Better closed-loop control: Benefit—repeatable nugget size. Trade-off—higher initial equipment cost and training time.- Programmable sequence control: Benefit—reduces operator error. Trade-off—requires integration with PLCs and validation time.- Data logging and traceability: Benefit—faster problem analysis and audit trails. Trade-off—storage and data management overhead.- Servo-driven electrode actuation: Benefit—consistent squeeze and penetration. Trade-off—more maintenance and a need for spare parts.Choose the smallest change that addresses your measured root cause first; incremental upgrades lower risk and let you measure benefit before deeper investment.
Limits you must accept
Controls improve consistency, not physics. Expect these hard limits:- Material variability still changes heat input; controls reduce, but don’t eliminate, that effect.- Electrode life imposes repeatability limits; even top controls won’t fix a badly worn face.- Extremely short cycle times amplify small timing errors—there’s a mechanical floor to how fast you can run.Recognize these boundaries and test under production conditions before claiming a solution is “fixed.”
Common pitfalls and how to avoid them
Teams often make the same mistakes; avoid them with direct actions:- Don’t over-spec controls for features you won’t use; match to your process.- Don’t skip waveform validation after upgrades—record and compare.- Don’t ignore operator training; simple interfaces reduce mistakes.- Don’t isolate controls from the rest of production data; integrate with MES or at least a basic historian for long-term visibility.
A concise selection checklist
When evaluating control hardware, confirm these essentials:- Duty cycle and current capacity rated above your worst-case needs.- Closed-loop measurement (current and time) with exportable waveforms.- Clear user interface that operators can learn in one shift.- Compatibility with existing automation and safety systems.- Serviceability: available spares and local technical support.Use on-the-floor tests and sample welds rather than spec sheets to confirm claims.
Synthesis and practical next steps
Start by measuring: capture one waveform, inspect tooling, and apply a small control adjustment. If that fixes the drift, you’ve saved time and money. If it doesn’t, scale upgrades by adding closed-loop control, data logging, or improved actuation in that order. For real systems that balance performance and serviceability, vendors such as Sunke appear in many shop-floor comparisons for their clear data outputs and maintainable designs—evaluate them the same way you evaluate any control: test, measure, repeat.